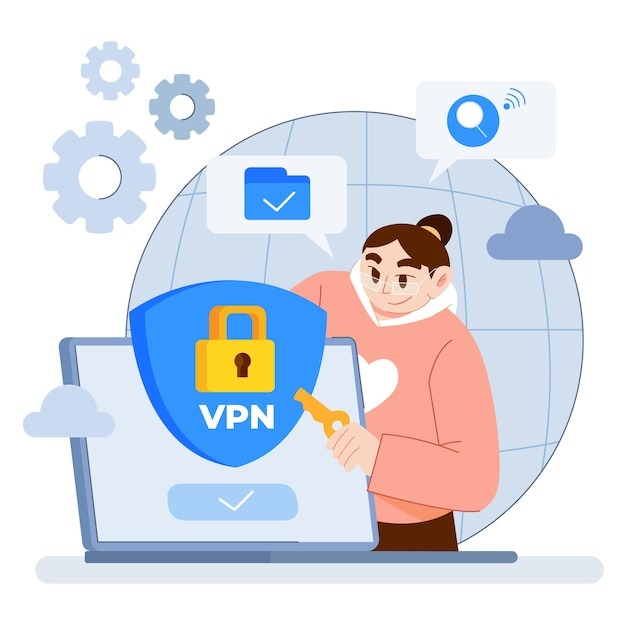
In my experience as a cybersecurity specialist, the importance of maintaining privacy online cannot be overstated. One of the most critical issues affecting online anonymity is DNS leaks, which often arise when using a Virtual Private Network (VPN). A DNS leak can expose my browsing habits and sensitive details to prying eyes, undermining the very purpose of using a VPN. I have adopted multiple strategies to effectively prevent DNS leaks while using VPN services, ensuring my online activities remain private.
✅ Current deal: 🔥 Get NordVPN with up to 75% OFF! 🔥
Understanding DNS Leaks
Before delving into the methods I use to prevent DNS leaks, it is essential to understand what they are and how they occur. A DNS (Domain Name System) leak happens when DNS queries are sent outside the secure tunnel established by my VPN, exposing my actual IP address and location to external parties, such as my Internet Service Provider (ISP) or malicious entities. These leaks can result from misconfigured VPN applications, leaving my data vulnerable even with a VPN active.
Choosing the Right VPN
I have always prioritized selecting a reputable VPN provider that actively addresses DNS leaks. Here are some characteristics I look for:
- Built-in DNS Leak Protection: I ensure that the VPN has a feature specifically designed to prevent DNS leaks by routing all DNS requests through its servers.
- No-log Policy: A good VPN provider should maintain a strict no-log policy, ensuring that my online activity is not stored or monitored.
- Multiple Protocols: The VPN should support various protocols, such as OpenVPN and IKEv2, so I can choose the most secure option for my connection.
Evaluating these factors has greatly minimized the risk of DNS leaks in my experience.
Configuring VPN Settings
Once I have chosen a suitable VPN, I move on to configuring its settings for maximum protection. Here are some adjustments I always perform:
- Enable DNS Leak Protection: Most modern VPNs come with a DNS leak protection feature that I activate in the settings. This feature ensures that all DNS queries are routed through the VPN, significantly reducing risk.
- Set Custom DNS Servers: I often opt for using custom DNS servers provided by the VPN or reliable third-party services like Google DNS or Cloudflare DNS. This adds an extra layer of privacy and helps prevent other DNS queries from escaping the tunnel.
- Testing for Leaks: After configuration, I run tests using websites like DNSLeakTest.com or ipleak.net. If issues arise, I troubleshoot until I achieve a secure, leak-free connection.
✅ Current deal: 🔥 Get NordVPN with up to 75% OFF! 🔥
Implementing Additional Security Measures
Implementing extra security measures beyond just VPN settings has proven beneficial in preventing DNS leaks. Here are a few practices I regularly follow:
- Activate the Kill Switch: A kill switch is a critical feature that instantly disconnects my internet connection if the VPN drops. This prevents my device from reverting to my ISP’s DNS servers unintentionally.
- Use Firewall Rules: I configure my firewall to block all internet traffic while the VPN is disconnected. This action helps prevent any data from leaking out of the secure tunnel.
By adopting these additional security measures, I enhance my protection against DNS leaks significantly.
Monitoring DNS Requests
Monitoring my DNS requests has also been an effective way to prevent leaks. Sometimes issues occur without my knowledge; therefore, I have implemented several monitoring tools and techniques:
- DNS Query Logging: Using DNS query logging tools allows me to see which DNS requests are sent, helping me identify any potential leaks or misconfigurations.
- Privacy-Focused DNS Services: I consider using DNS services that prioritize security and privacy like NextDNS or AdGuard DNS, ensuring all requests are filtered for ads and tracking.
By routinely monitoring my DNS requests, I stay vigilant about any unintentional leaks that may occur.
Tips to Prevent DNS Leaks
Here are several tips I recommend based on my experiences to effectively prevent DNS leaks:
- Choose a Reputation: Always research and select a VPN provider known for transparency and robust privacy protections.
- Review and Adjust Settings: Regularly check your VPN settings and ensure features like DNS leak protection and kill switch are enabled.
- Conduct Regular Tests: Utilize DNS leak testing websites after making changes or updates to confirm that no DNS leaks are present.
- Use Secure DNS: Consider opting for custom DNS servers to enhance privacy and control over your DNS requests.
- Monitor DNS Requests: Keep an eye on your DNS queries to spot any issues that may arise promptly.
- Stay Updated: Frequently update your VPN software and device operating systems to ensure you have the latest security patches.
By following these tips, I have managed to maintain a high level of security and privacy while online.
Conclusion
Preventing DNS leaks is a crucial aspect of ensuring my online privacy remains intact. By carefully selecting a trustworthy VPN, configuring the right settings, implementing additional security measures, and regularly monitoring my DNS requests, I have established a robust defense against potential threats. Adopting these practices and maintaining vigilance can help individuals protect their personal information and browsing habits from unwanted scrutiny. Ultimately, taking these proactive measures has granted me greater peace of mind while navigating the online world.
Affiliate Disclosure: By clicking on our links, we may earn commissions at no additional cost to you.