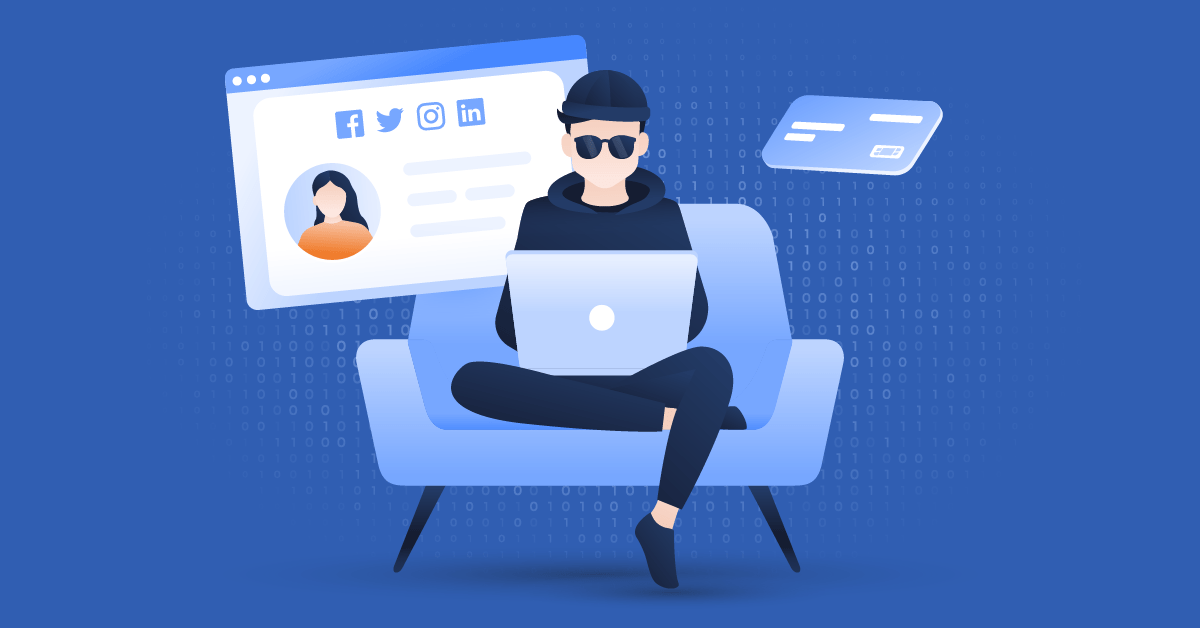
In the digital landscape, securing personal information has become paramount. I often find myself on public Wi-Fi networks—coffee shops, airports, and hotels are hotbeds for this. So, I decided to protect my privacy by setting up a Virtual Private Network (VPN) on my iPhone. This guide explains how I went about it and offers insight into the steps you can take for optimal protection.
What is a VPN and Why Do You Need One?
A VPN creates a secure tunnel between your device and the internet. It encrypts your data, meaning hackers and even your Internet Service Provider (ISP) cannot easily access your information. By using a VPN, I can browse the web anonymously and feel safer about the information I send and receive.
I knew that setting up a VPN on my iPhone would provide an added layer of security, especially when connecting to less-secure networks,
✅ Current deal: 🔥 Get NordVPN with up to 75% OFF! 🔥
Choosing the Right VPN Service
The first step I took was selecting a VPN provider. Not all services are created equal, so I did my homework. Here are the factors I considered:
- Privacy Policy: I focused on providers that have a strict no-logs policy.
- Speed: I wanted a service that doesn’t significantly slow down my internet connection.
- Server Locations: The broader the server network, the better my chances of finding a fast connection.
- Ease of Use: Given my non-tech-savvy friends, I opted for a user-friendly interface.
- Cost: While free options exist, I was willing to invest in a reliable service.
Ultimately, I chose [VPN Provider Name] due to its solid reputation and favorable reviews.
How to Install the VPN on an iPhone
After selecting a VPN service, the next step was installation. Here’s how I set it up:
Step 1: Download the App
I went to the App Store and searched for my chosen VPN provider. After finding the app, I clicked “Get” to download it.
Step 2: Create an Account
Once installed, I launched the app and followed the prompts to create an account. I entered my email and selected a strong password, ensuring it’s unique to this service.
Step 3: Sign In
After creating the account, I signed in with my credentials. At this stage, I was able to explore the app’s features.
Step 4: Configure Settings
I accessed the settings menu to customize my VPN preferences. Here’s what I focused on:
- VPN Protocol: I selected a robust protocol for better security, typically OpenVPN or IKEv2.
- Auto-Connect: Enabling this feature ensured that the VPN automatically activates when I connect to a public Wi-Fi network.
Step 5: Connect to the VPN
The app displayed a button to connect. I pressed it and, within moments, I was securely connected to the VPN. A small VPN icon appeared at the top of my iPhone screen, confirming my connection.
✅ Current deal: 🔥 Get NordVPN with up to 75% OFF! 🔥
Tips for Using a VPN on Your iPhone
Setting up the VPN was just the beginning. Here are some tips I found invaluable for maximizing the use of my VPN:
- Always Connect When Using Public Wi-Fi: I never connect to public networks without first activating the VPN.
- Test Different Server Locations: I encountered faster speeds by switching servers; sometimes local connections are congested.
- Update the VPN App Regularly: Keeping the app updated ensures I have the latest security features.
- Use Strong Passwords: For my account and devices, I take password security seriously.
- Enable Kill Switch: If my VPN connection drops, this feature ensures my internet access is cut off, protecting my data.
By observing these tips, I maintain a well-protected device, both at home and on the go.
Troubleshooting Common Issues
While my experience with the VPN has largely been positive, there are common issues users might encounter. Here’s how I handled them:
Slow Speeds
If I ever noticed a slowdown, I tried connecting to a different server. Sometimes, switching to a server with less traffic improved my speed.
Connection Drops
In the event of disconnections, I enabled the app’s auto-reconnect feature to ensure I stay protected at all times.
Unable to Access Certain Websites
Some sites may block VPN traffic. I’ve found that changing to a different server often bypasses these restrictions.
When to Use a VPN
In my routine, I consciously use a VPN in these scenarios:
- When accessing sensitive data like banking information.
- While browsing websites that require personal information.
- When gaming, to keep my connection secure from potential DDoS attacks.
- While traveling abroad where public networks are more susceptible to cyber threats.
Conclusion
Setting up a VPN on my iPhone has proved to be one of the best decisions I made for my cybersecurity. It not only shields my data but also gives me peace of mind while online. A VPN is more than just a simple app; it’s a vital tool for maintaining privacy and security in an increasingly interconnected world.
By following the steps I outlined, you can easily configure a VPN on your iPhone. Remember to always adhere to the tips for optimal use, and you’ll enjoy a more secure browsing experience, whether at home or on the go.
Affiliate Disclosure: By clicking on our links, we may earn commissions at no additional cost to you.