Virtual Private Networks (VPNs) provide a secure connection between your device and the internet. They encrypt your data, protect your privacy, and allow you to access geo-restricted content. As a cybersecurity expert, I have navigated countless topics related to online security and privacy. Here’s my step-by-step guide to installing a VPN on an iPhone.
Choosing the Right VPN
Before diving into the installation process, I recommend selecting a VPN service that suits your needs. Consider the following factors:
- Security Protocols: Look for industry-standard protocols like OpenVPN or IKEv2 for robust security.
- No-Logs Policy: Ensure the provider does not keep logs of your online activity.
- Speed and Server Variety: Choose a provider that offers fast speeds and a broad range of server locations.
- Device Compatibility: Confirm that the VPN service supports iOS devices.
- User Reviews: Investigate user feedback to gauge reliability and performance.
Step 1: Sign Up for a VPN Service
To begin, I suggest registering with a reputable VPN provider. I personally prefer to use those that provide easy navigation and excellent customer support. Follow the provider’s website instructions to create your account and select a subscription plan.
Step 2: Download the VPN App
Once you’ve created an account, the next step is downloading the VPN app from the App Store:
- Open the App Store on your iPhone.
- In the search bar, type the name of the VPN service you’re using.
- Locate the official app and tap on the download icon.
- Once the download completes, open the app.
Step 3: Log In to the VPN App
After installing the app, I proceed to log in using my account credentials:
- Open the VPN app.
- Enter your username and password.
- If prompted, accept the app’s terms of service and privacy policy.
✅ Current deal: 🔥 Get NordVPN with up to 75% OFF! 🔥
Step 4: Configure the VPN Settings
At this point, I recommend reviewing the app’s settings to optimize your experience:
- Choose a Connection Protocol: Depending on your requirements, select a protocol. I often use OpenVPN for its balance of security and speed.
- Enable Kill Switch: Look for the option to enable a kill switch. This feature prevents your internet traffic from flowing if the VPN connection drops, maintaining your privacy.
- Split Tunneling (if available): If your VPN supports it, consider using split tunneling, allowing you to route some traffic through the VPN while keeping others unaffected.
✅ Current deal: 🔥 Get NordVPN with up to 75% OFF! 🔥
Step 5: Connect to the VPN Server
With configurations set, I’m now ready to connect:
- On the main screen of the app, select a server location. I usually choose a location based on speed and my intended use, such as streaming or browsing.
- Tap the “Connect” button.
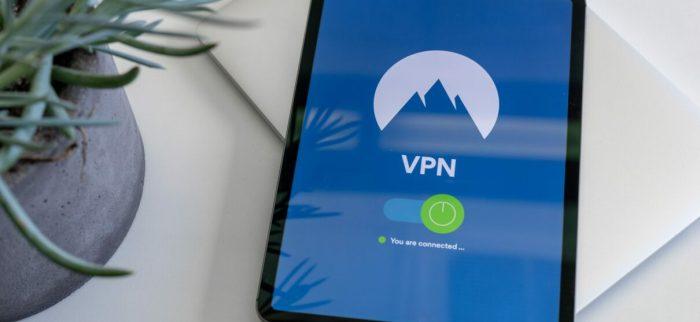
- Wait until the connection is established. You’ll typically see a notification or icon indicating that the VPN is active.
Step 6: Test the VPN Connection
After connecting, I conduct a quick test to ensure everything is functioning correctly:
- Open a web browser and navigate to a website that displays your IP address (like whatismyip.com).
- Check if the displayed IP aligns with the VPN server location you selected. If it does, your VPN connection is successful.
Tips for Effective VPN Use
To maximize your VPN experience on your iPhone, consider these tips:
- Keep the App Updated: Ensure you regularly update the app to benefit from security patches and new features.
- Use Trusted Wi-Fi Networks: Avoid public Wi-Fi networks unless connected to the VPN to safeguard your data.
- Switch Locations as Needed: Experiment with different server locations for optimal speed and accessibility to regional content.
- Monitor Your Speeds: If speeds drop significantly, try connecting to a different server.
- Always Disconnect When Not in Use: Unless you require a constant connection, disconnect the VPN to conserve battery and data.
Step 7: Disconnecting the VPN
When I’ve completed tasks requiring a VPN, I disconnect to return to my regular internet connection:
- Open the VPN app.
- Tap the “Disconnect” button.
- Confirm that the connection is terminated.
Conclusion
Installing a VPN on your iPhone is a straightforward process that enhances your online security and privacy. I hope this step-by-step guide has simplified the installation process for you. A robust VPN can significantly reduce the risks associated with online activities, protect your sensitive data, and allow greater flexibility in accessing content.
As an advocate for online privacy and security, I urge you to take this step seriously and choose a VPN that aligns well with your needs. Following this guide, I believe you are now well-equipped to install and use a VPN on your iPhone effectively. Always stay vigilant about your online presence, ensuring your data remains secure at all times.
Affiliate Disclosure: By clicking on our links, we may earn commissions at no additional cost to you.